Although several file types can be exported from and imported to Primavera P6, two file types are the most commonly used formats. The Oracle XER format is a proprietary file format that supports all Primavera P6 project, resource, and role information. The XER format allows the user to export and import between different versions of Primavera P6. An XER file can also be generated as a backup to a Primavera P6 project.
The other format commonly used, XML, stands for “eXtensible Markup Language”. This popular format allows users to share project information between Primavera P6 databases. The XML file allows project data to be stored in a plain text format. This in turn makes it simpler for various software programs to exchange the data. Such data can be easily shared and controlled by the Primavera P6 user.
Also, XML files allow the export of baseline data, as well as project activity layouts. If Global and Project Security Profile settings are implemented in Primavera P6, data items that can affect the data in the database will not be imported.
Exporting the XER File from Primavera P6
Open the Primavera P6 project that you are interested in. Go to the File tab and select “Export”:

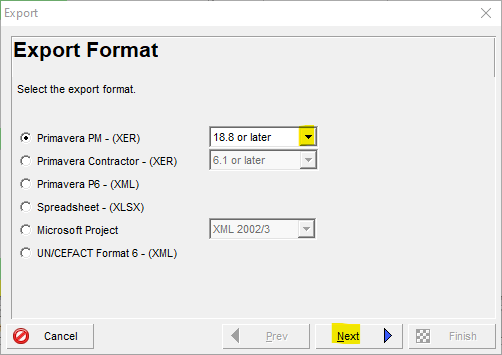
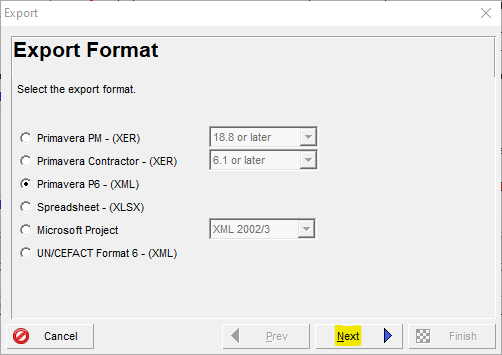
Select “Primavera PM – (XER)” and select the appropriate Primavera P6 version from the pull-down menu. Select “Next”:
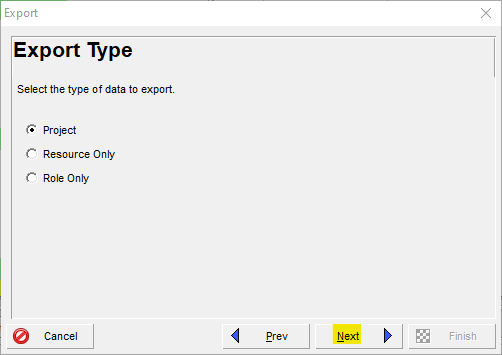
Select “Project” and then “Next”:
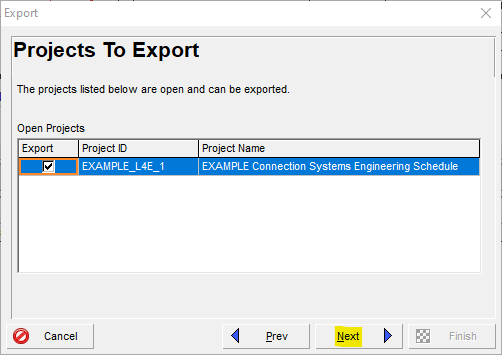
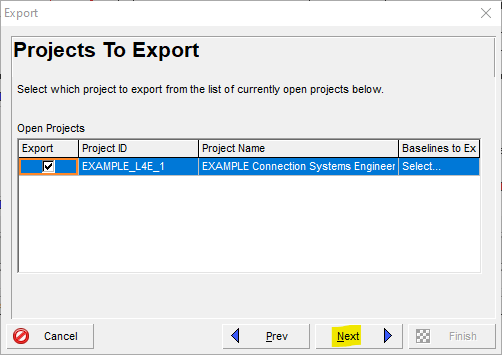
Ensure that you put a checkmark on the project name:
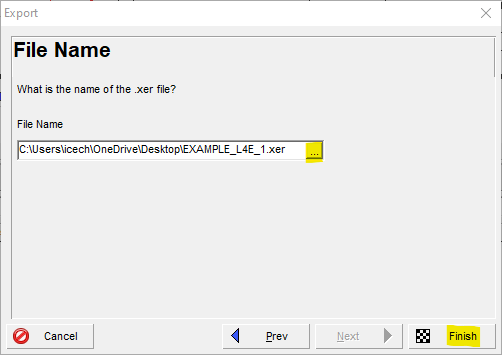
Select the ellipses for the path where you want to put the exported file and select “Finish”:
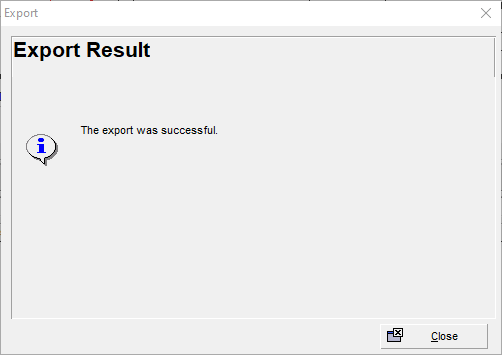
You will receive a confirmation box:
Importing the XER File into Primavera P6
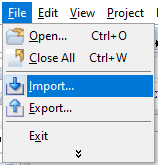
Go to the File tab and select “Import”:
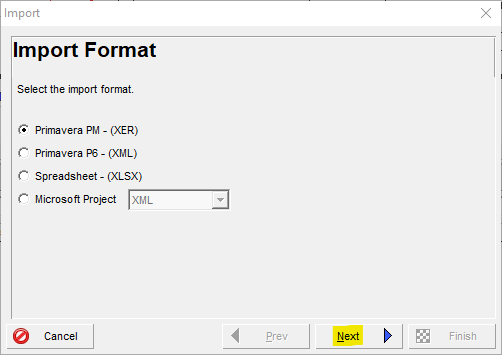
Select “Primavera PM – (XER)” and select “Next”:
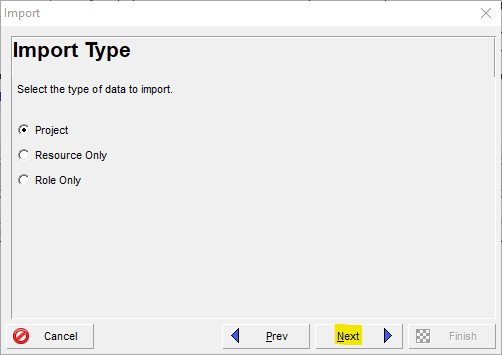
Select “Project” and then “Next”:
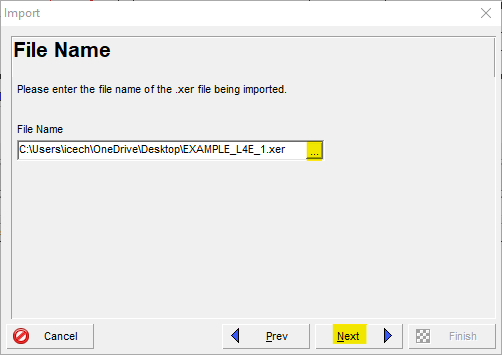
Select the ellipses for the path where the XER file to be imported is located and select “Finish”:
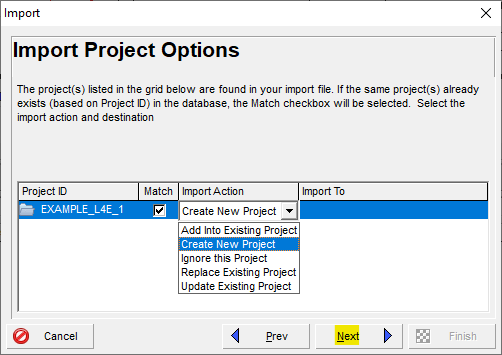
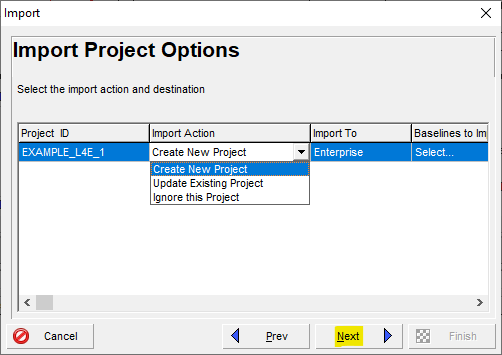
Select the import option, where you can create a new project or update an existing project. In this example, we are creating a new project:
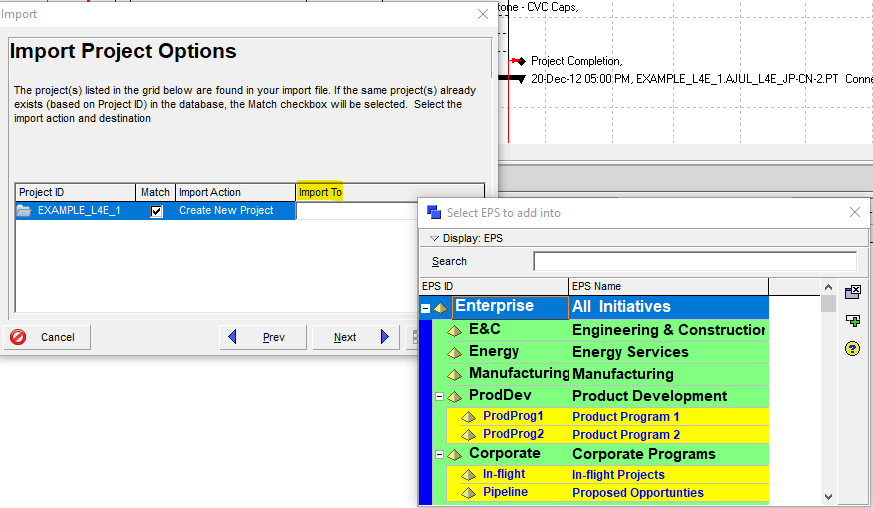
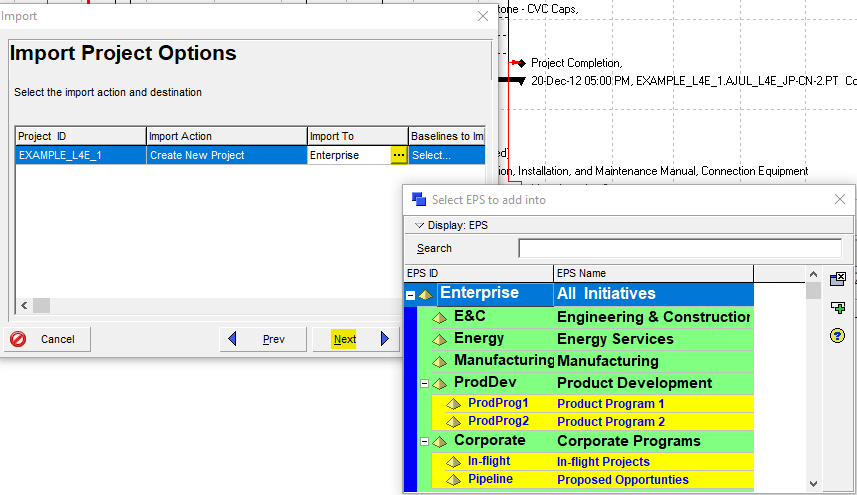
Select “Import To” so that you can direct where the new project will be imported into the enterprise structure. Select “Next”:
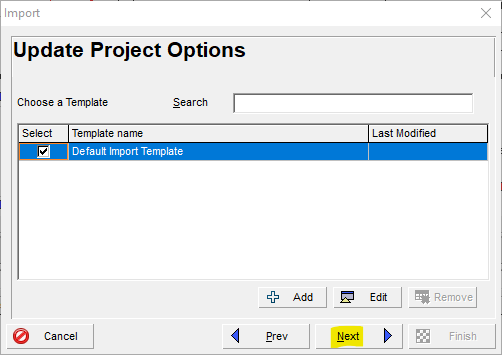
You will receive a box to update the project options. In this example, we are going to use the default configuration:
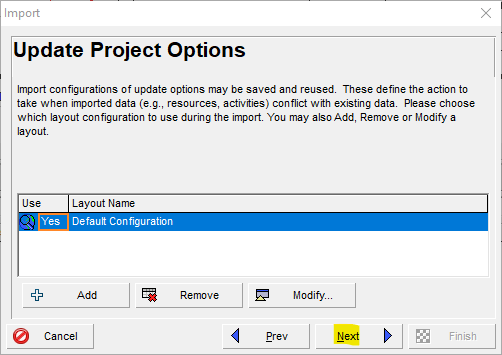
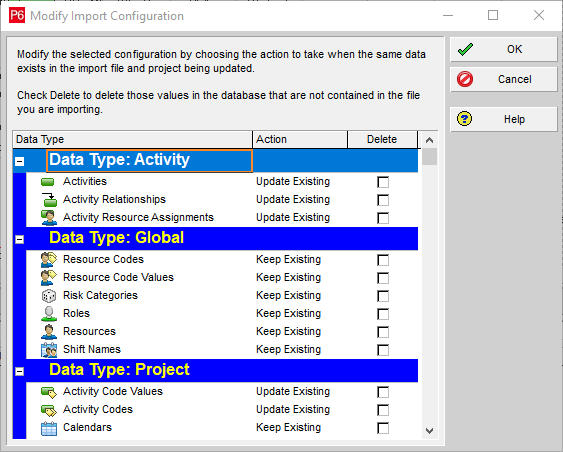
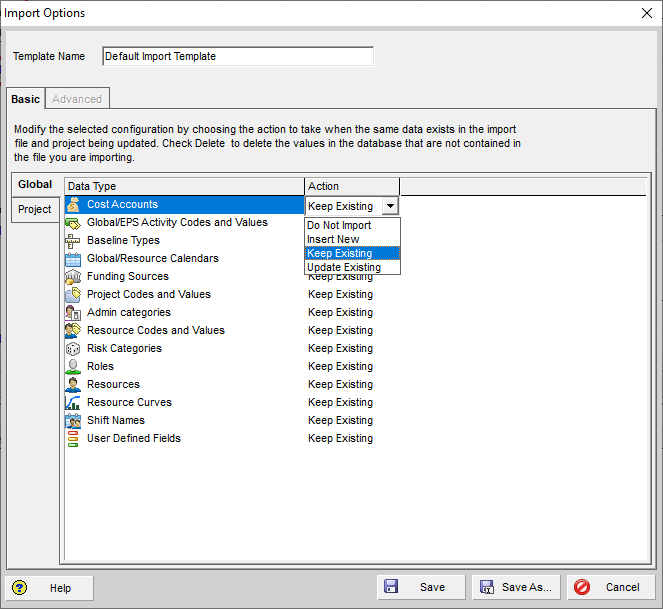
However, you do have the option to use the ‘Modify’ button to choose options specifically to either update the existing parameters or to keep the existing data types:
Select “Finish”:

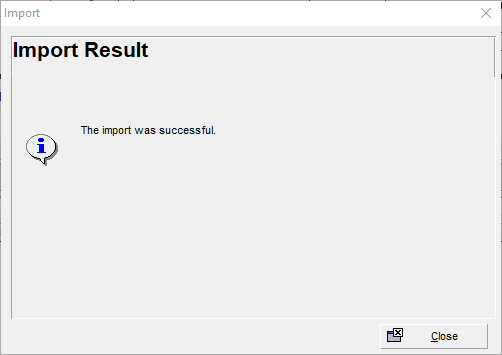
You will receive a confirmation of the import:
If you go to the Main Projects menu, you can see where the new project has been imported:

Exporting the XML File from Primavera P6
Open the Primavera P6 project that you are interested in. Go to the File tab and select “Export”:

Choose “Primavera P6 – (XML)”:
Ensure that you checkmark the project that you will export:
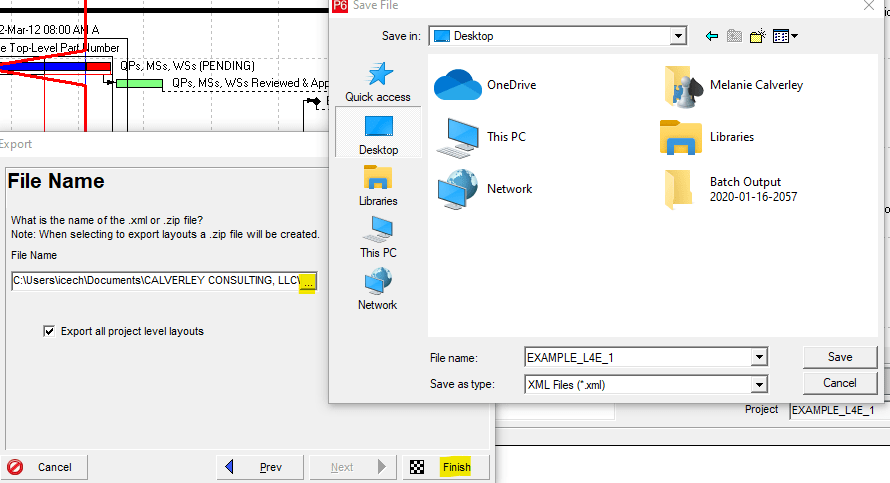
Select the ellipses for the path where you want to put the exported file and select “Finish”. The option to save the file as a .zip file may appear. Check “Export all project level layouts” if you want to include all of the project level layouts in the exported XML file:
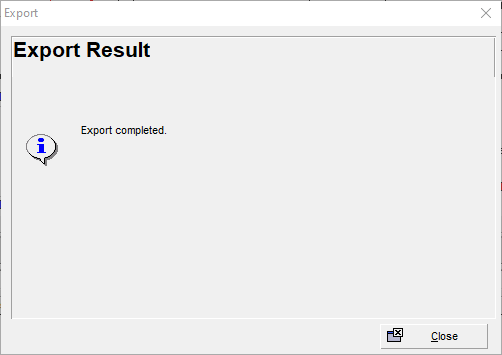
You will receive a confirmation of the XML export:
Importing the XML File into Primavera P6
Go to the File tab and select “Import”:

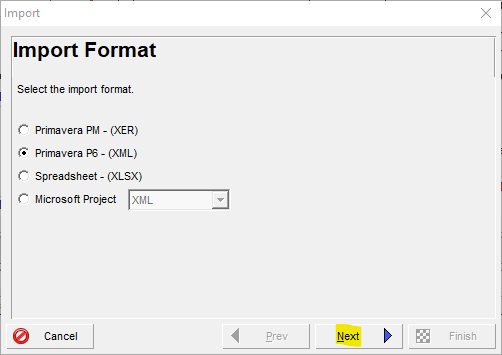
Select “Primavera p6 – (XML)” and select “Next”:
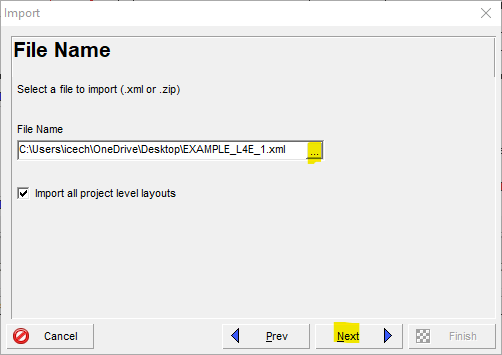
Select the ellipses for the path where the XML file is located and select “Finish”. Check “Import all project level layouts” if you want to include all of the project level layouts from the imported XML file:
Select the import option, where you can create a new project or update an existing project. In this example, we are creating a new project:
Select the ellipses for the path where the XML file to be imported is located and select “Finish”:
The ellipses as shown below allows you to select the baseline(s) to import with the XML file. In this example, we are not carrying over a baseline. Select “Next”:

In this example, we are using the default import template:
However, you do have the option to use the “Edit” button to choose individual options for the data types. Not all data types have to be imported or updated:
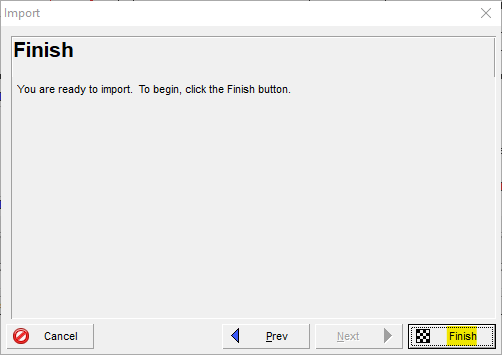
Select “Finish”:
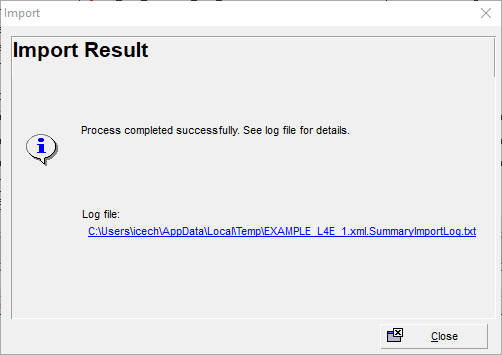
You will receive a confirmation of the successful XML import. You will also see a link to a report on the successful import. Click on the blue link below to view this report:
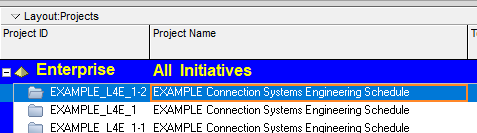
Go to the main projects menu to see where the new project has been imported:
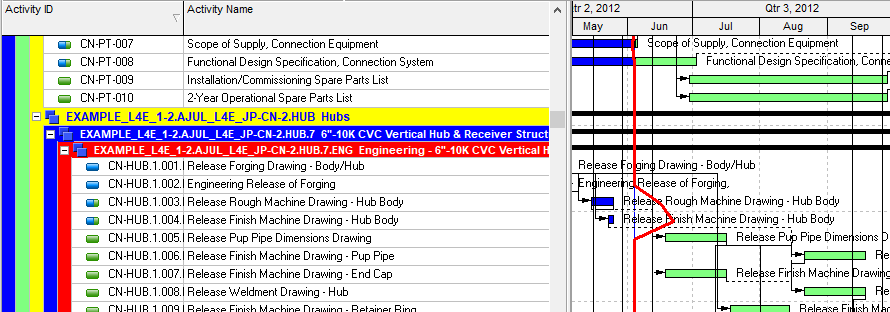
Open the project and take notice that the Gantt bars on the right of the schedule are green. Remember that we did not carry over a baseline in this instance:
Conclusion
Now that you know how to utilize two of the most common file types in Primavera P6 to create export files and import projects, you will be able to work with other Primavera P6 users. This promotes Primavera P6’s capabilities that allow users to share and modify project schedule data.
Contact Leopard Project Controls for CPM Scheduling Consultant.
OUR SERVICES
CONTACT US

SEYAR AZADANI, PMP
PRESIDENT & CEO
Seyar Azadani has over 20 years of CPM scheduling and construction management experience working with general contractors and project owners, including the USACE, DOT, VA, Meta, QTS, Turner, Donohoe Construction, and Whiting-Turner company. As a Construction CPM Scheduling Consultant, Seyar has provided Primavera P6 CPM Scheduling services for government agencies and the private sector, representing owners, general contractors, construction managers, and architects.
Seyar has proven knowledge, expertise, and experience in utilizing Oracle Primavera P6, Primavera P6 Team Member, Primavera Unifier, Bluebeam, MS Project, Procore, eBuilder, Tableau, Navisworks, and Autodesk Revit. As a project controls specialist, Seyar has assisted Meta and QTS with Data Center projects, including new build projects, retrofit projects, and leased spaces.
Seyar has provided project controls services to projects ranging from civil to industrial to high-rise construction, including hospitals and healthcare facilities, roads and highways, high-rise apartment buildings, and commercial projects, utilizing Primavera and MS Project CPM scheduling tools to create and maintain the CPM schedules for his clients. With the US Army Corps of Engineers projects, as a contractor and construction manager, Seyar has built military facilities, including completing the construction of a USACE training facility, a $200+ million project in the capacity of project construction director.
Seyar has a Master of Science degree in Construction Management from New York University (NYU) in Jan of 2012 and a Bachelor of Science degree in Civil Engineering in 2004.