Introduction to Primavera P6 Thresholds
Primavera P6 allows users to track their project matters with the tool’s ability to recognize and store project thresholds. Thresholds provide a means to define parameters required to filter out specific and key information in the project schedule, and they also provide a means to compare historical data in the project schedule to future execution projects. This article will cover how to use and work with Primavera P6 thresholds during project execution.
Working with Thresholds in Primavera P6
Primavera P6’s thresholds highlight concerns that may not be visible in the Primavera P6 scheduled activities. You can create thresholds in the project schedule to define specific parameters, such as date variances. Numerical requirements may also be defined and established by defining lower and upper numerical prerequisites. Primavera P6 will automatically generate an issue when a threshold parameter is equal to or less than the predetermined lower threshold value or equal to or greater than the predetermined upper threshold value.
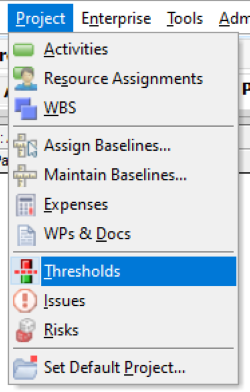
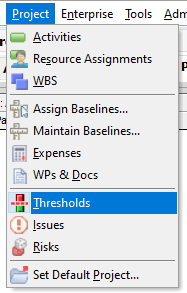
It is important to take note that if the threshold monitor generates an issue during the execution of the project, an existing resource assignment cannot be changed if it has already been defined. Also, a new resource cannot be assigned where a resource has not been previously identified. Therefore, it is imperative to assign a resource prior to project execution. To create a Primavera P6 threshold, go to the Project tab and select “Thresholds”:
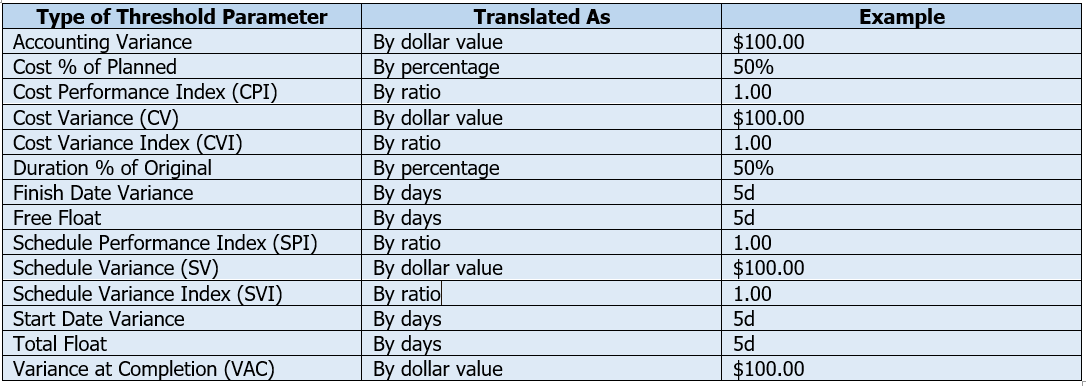
These are the following Primavera P6 threshold parameters that users can establish in their project schedules (listed in alphabetical order):
Select the plus sign in the Primavera P6 menu on the right side of your screen to add a threshold:
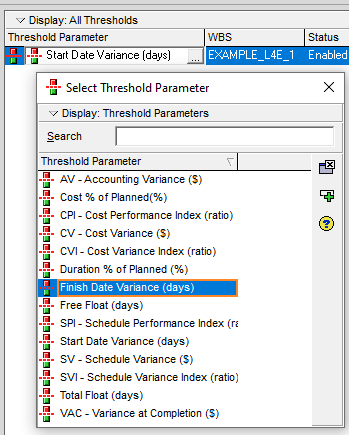
Once the threshold is added, click on the ellipsis under “Threshold Parameter” to access the available threshold choices and then add the desired choice by clicking the green plus sign:
Update the WBS, status, and priority by clicking in those areas and selecting the appropriate choices:

It is important to take note that a finish date variance threshold is defined by the number of days. When a Primavera P6 issue is generated, the difference between the activity’s baseline finish date and the current schedule finish date extends past the defined threshold values. Although not a scheduling best practice and certainly not recommended, if a baseline has not been established in the project schedule, then the current project is used as the primary baseline.
Use the bottom part of your screen to select options for the newly created threshold. You will establish lower and upper thresholds in the choices below. In this example project, we are establishing dates to indicate one (1) for the lower threshold and five (5) for the upper threshold. In other words, we are establishing that Primavera P6 will automatically generate an issue if the task date falls one to five days late in comparison to the original baseline plan.
The “Detail to Monitor” contains a pull-down menu that offers the choice of either the WBS level or the activity level. In our example, we will use the activity level to define late activities. You also have the option in this menu to select a tracking layout and a responsible manager:
![]()
To monitor the thresholds, go to the Tools tab and select “Monitor Thresholds”:
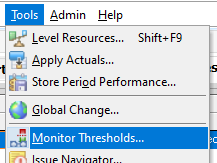
Choose “Use original threshold monitor windows” (you can also select the second option if you want to narrow the date range):

Our example schedule generated 84 issues. The schedule example that we are using contains an original baseline plan from several years earlier; therefore, we expected Primavera P6 to generate multiple issues based on the threshold parameters that we previously defined:
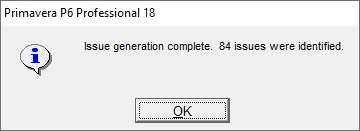
Primavera P6 shows a list of the project issues within the Project Issues tab that the tool created. You can right-click to display columns such as the lower and higher threshold numbers, the actual threshold value that caused the issue based on the defined parameters, as well as the issue status:

If you need to delete a threshold from Primavera P6, you can accomplish this easily. It is imperative to take note that if you delete a Primavera P6 threshold, the historical issue data will be deleted. Alternatively, you can disable a threshold to maintain the historical data, and new issues will not be automatically generated.
To delete a Primavera P6 threshold, go to the Project tab and select “Thresholds”:
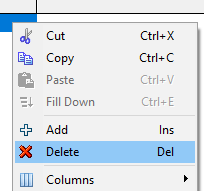
Then highlight the threshold that you want to delete and go to the Edit tab and select “Delete”. You can also right-click within the highlighted threshold and select “Delete”:
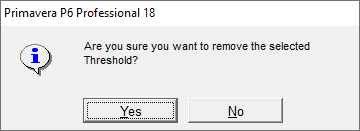
Choose “Yes”:
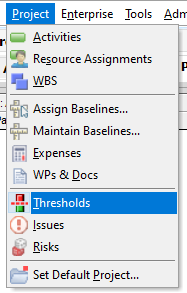
To disable or enable a Primavera P6 threshold, go to the Project tab and select “Thresholds”:
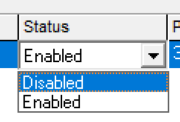
Select the threshold to enable or disable, double-click in the Status column to see the pull-down menu, and select your option from there:
Conclusion
Primavera P6 users can benefit from adding Primavera P6 project thresholds during the execution of the project schedule. This Primavera P6 capability allows the project team to view and track issues generated as a result of the predetermined thresholds. These can be referred to later and used to communicate information to the project team.
Contact Consult Leopard for the construction management owner’s rep now.


