Introduction to Primavera P6 Notebook Topics
Primavera P6 users can take advantage of tracking their project concerns with its ability to store and communicate project notebook topics. Situations and points that need to be documented often arise during the execution of a project. Being able to conveniently document, store, and communicate these concerns to the project team can be valuable throughout the lifecycle of the project. Primavera P6 notebook topics also provide a means to compare data to future execution projects, since without proper documentation, many concerns would get lost in the daily project activity. This article is comprehensive documentation on how to use and work with Primavera P6 notebook topics.
Working with Notebook Topics in Primavera P6
Primavera P6’s notebook topics highlight concerns that may not routinely show up in the scheduled activities. Issues can be associated with the Work Breakdown Structure (WBS) elements, project activities, or even resources. Primavera P6 comes equipped with a set of standard notebook topics, and the tool also allows the user to customize notebook topics specific to the organization. It is important to note that a user must have Primavera P6 administrative rights to set up customized notebook topic categories.
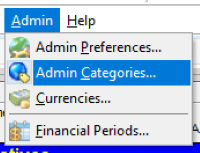
To set up categories for EPS, project, WBS, and activities go to the Admin tab and select “Admin Categories”:
Select “Notebook Topics” on the left and use the Add button to create new notebook topics:
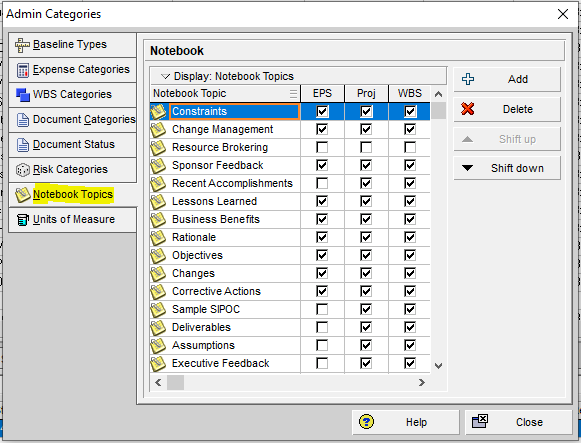
You can change the order in which notebook topics are listed using the Shift Up or Shift Down buttons on the right-hand side of the Admin Categories box. Also, notebook topic names can be changed easily by double-clicking on the notebook topic name and typing in a new description. The Delete button can be used to delete any notebook topic that is highlighted that needs to be removed.
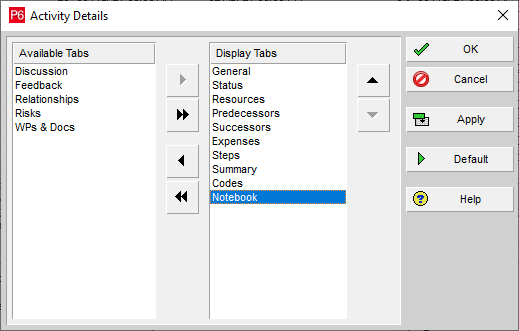
To include the notebook topics view on your screen, right-click in the bottom pane and select “Customize Activity Details…”:

Use the arrow key to move “Notebook” from the Available Tabs window to the Display Tabs window:
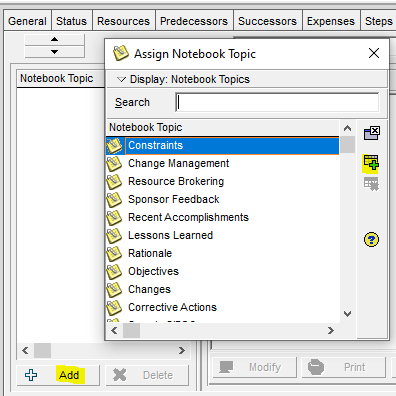
To add a notebook topic to a task in the Primavera P6 schedule (ensure that the Primavera P6 scheduled task is highlighted), go to the Notebook tab on the bottom menu of the screen and select “Add” and choose the applicable notebook topic:
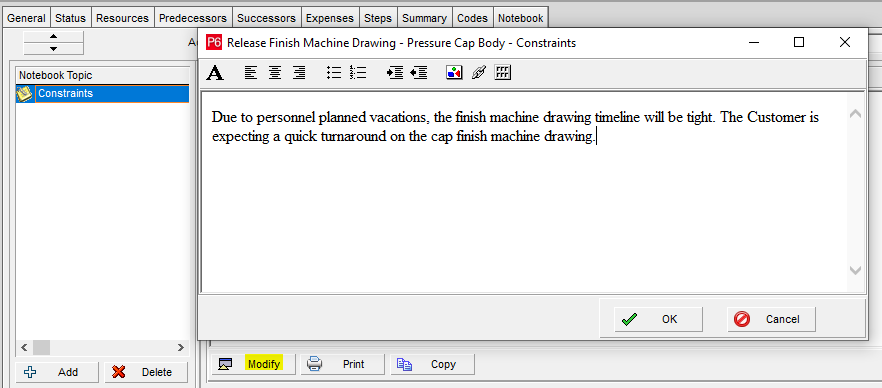
Click “Modify” to add notes and key information regarding the notebook topic. You can choose to update the fonts, add a picture, a table, or even a website link for reference:
One of Primavera P6’s creative visual features includes allowing a user to show notebook topics on the Gantt chart; however, a user is only allowed one notebook topic per Gantt bar. This can be accomplished by first highlighting the applicable task in the Primavera P6 schedule, and then going to the Layout Options menu at the top of the screen and selecting the Bars icon:![]()
In the schedule example used in this exercise, the notebook topic that we added was attached to a task that is part of the schedule’s critical remaining work. Therefore, we will select “Critical Remaining Work” as the bar for this exercise to show notebook topics. Highlight this row as indicated below and select “Add”:
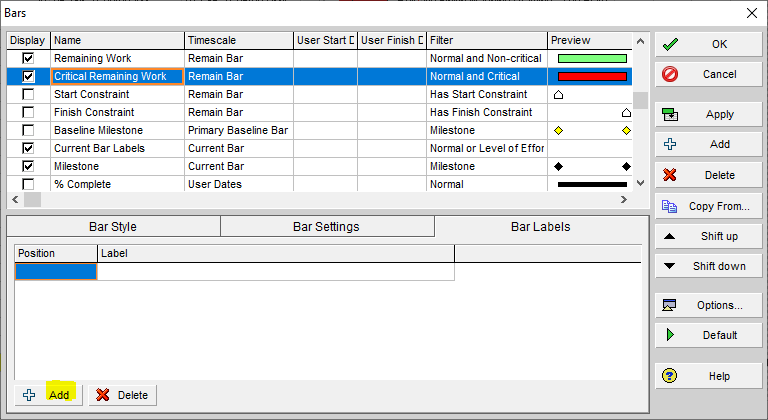
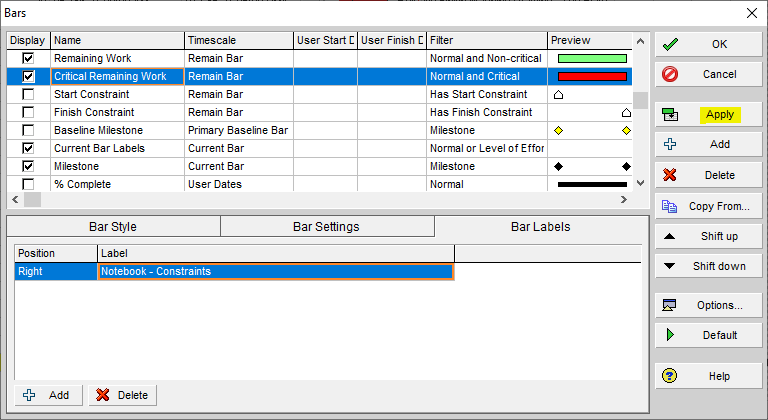
Under the Bar Labels tab, select “Add”, and then use the pull-down menu to choose the applicable notebook topic. In this example, we should select “Notebook – Constraints”, since our earlier assigned topic references this topic. Click “Apply” and then “OK”:
You can also use “Current Bar Labels” in the previous step to show all of the schedule’s notebook topics. The notebook topic defined in the earlier step above now shows up on the Gantt chart:

Primavera P6’s capability does not stop at documenting and storing notebook topics; it also contains the ability to run reports specific to project notebook topics. There are different ways to utilize the reporting feature for notebook topics. Go to the Tools tab at the top of the screen and select “Reports”:
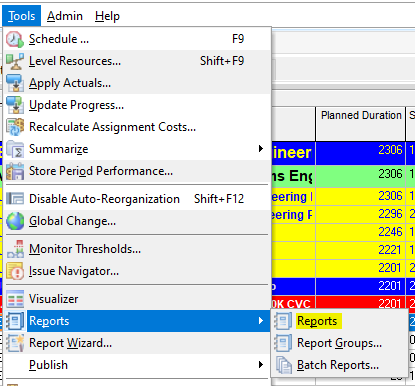
Primavera P6 comes equipped with some standard reports, although it allows the flexibility to create custom reports per the user’s requirements. In this example, we will use an open issues report that was already built into our version of Primavera P6:

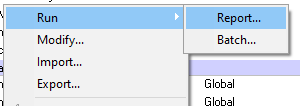
Right-click on the report and select “Run” and then “Report”:
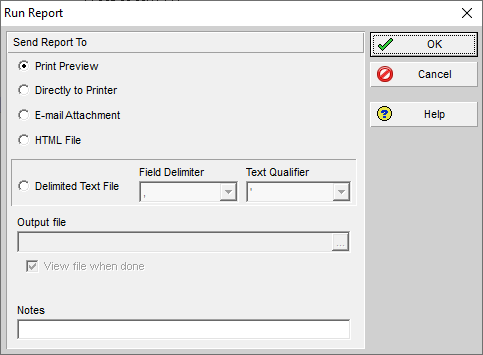
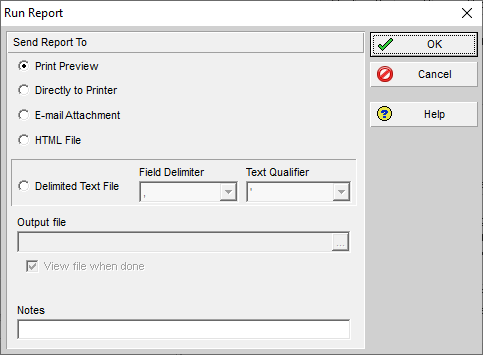
When the “Run Report” box appears, we will use the print preview to view the report, although you have the option to print, e-mail, or even use an HTML file for the report (some features, such as the e-mail capability, will need to be set up in advance by the Primavera P6 administrator):
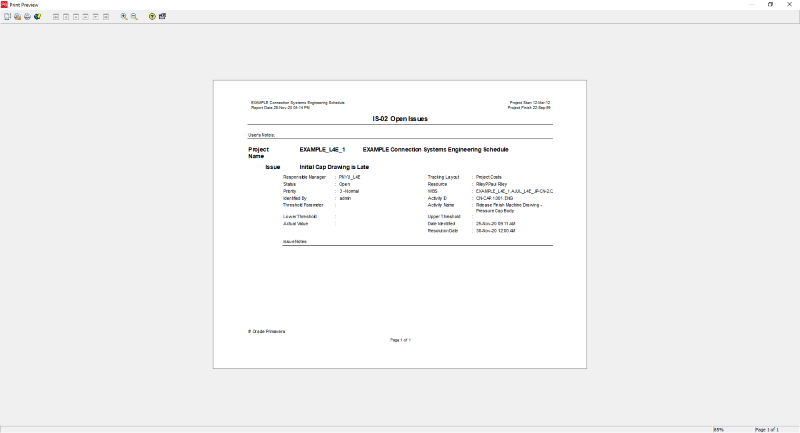
Here is the print preview screen:
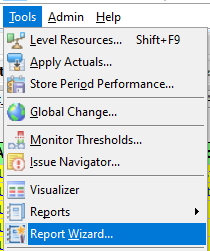
The second way to run a report specific to the notebook topics is to use the Report Wizard. You can do this by going to the Tools tab and selecting “Report Wizard…”:
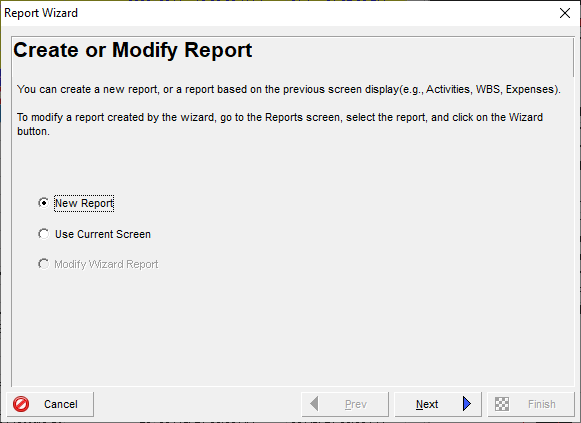
Select “New Report” from the next screen:
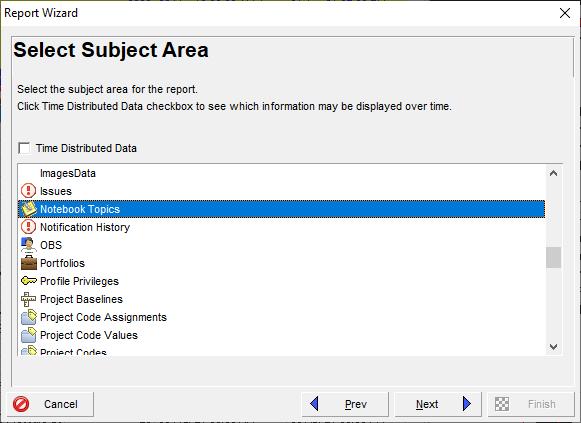
Select “Notebook Topics” on the next screen:
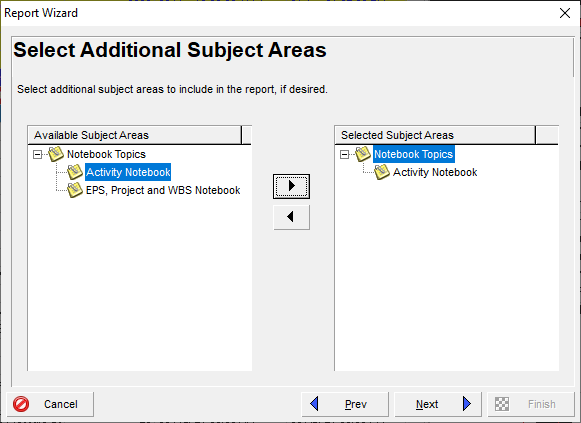
Use the arrow keys to move the features that you want to view from the “Available Subject Areas” window to the “Selected Subject Areas”:
In this example, we will add the Activity ID and activity to our options:
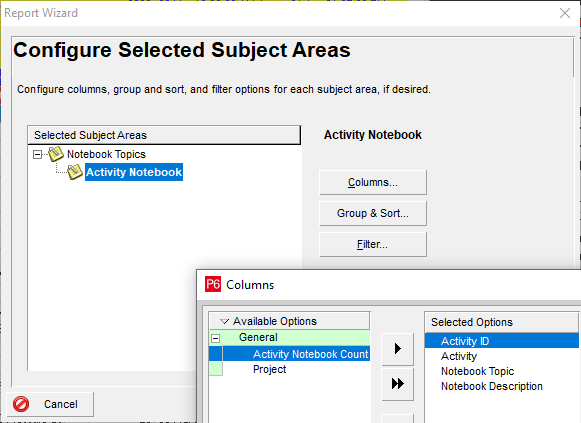
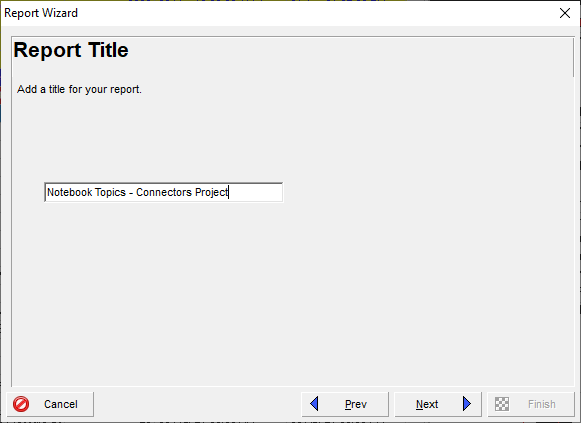
The option boxes on the right side allow you to use Group & Sort features and filters. Click “OK” and then “Next”. You can then type in a custom report title to identify this report for future use:
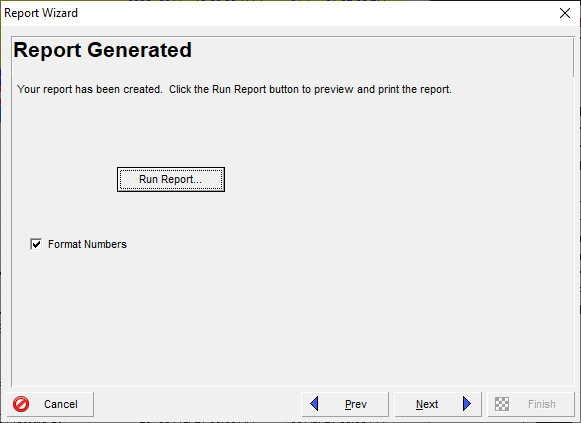
You will receive confirmation that the custom report has been generated, and you can select “Run Report”:
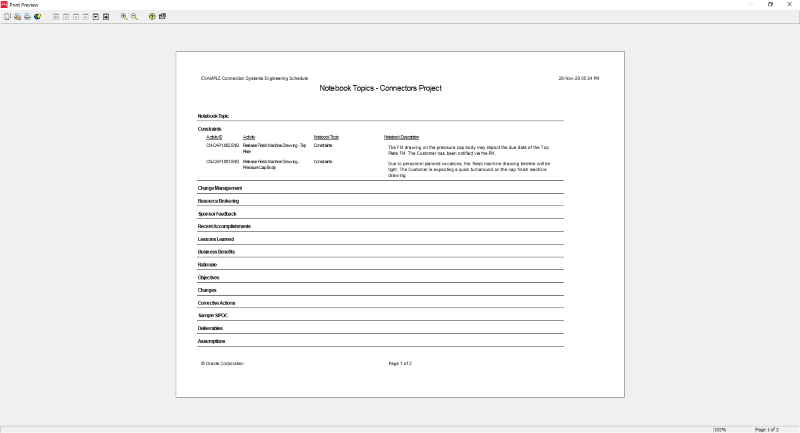
You can now generate a preview of the report:
The report will show all open notebook topics in the project schedule:
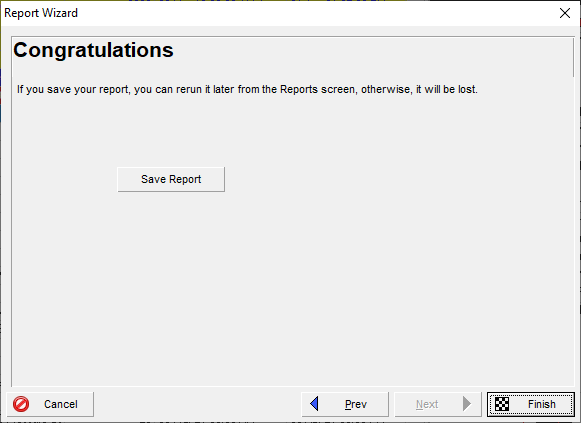
The confirmation will allow you to use the “Save Report” option to use the custom report for future use:
Conclusion
Primavera P6 users can benefit from adding project notebook topics during the execution of the project schedule. This feature allows the project team to view and track notes that can be referred to later and used to communicate information that may not be intuitive in the standard schedule view and activities.
Contact Consult Leopard for independent cpm scheduling consultants services now.


