Importing and exporting to and from an Excel spreadsheet to Primavera is a unique and valuable feature to take advantage of, especially when working with a Project Manager or other team member who may not have Primavera software access. Importing from Excel to Primavera can be especially useful when a team member needs to implement some changes to the project schedule, and that person provides the new tasks in an Excel spreadsheet. Also, exporting data from Primavera to Excel will allow a team member who does not have access to Primavera to utilize the project schedule data in a usable format. The different features are covered in this article.
Exporting the Primavera schedule to an Excel spreadsheet
The first important task to start with before exporting data from Primavera is to select the layout with the columns that you want to use to export. Select “Layout” and then “Open Layout”:
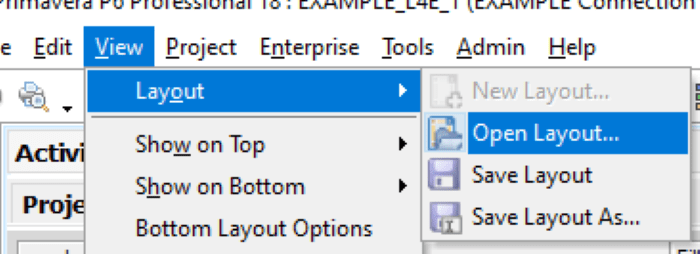
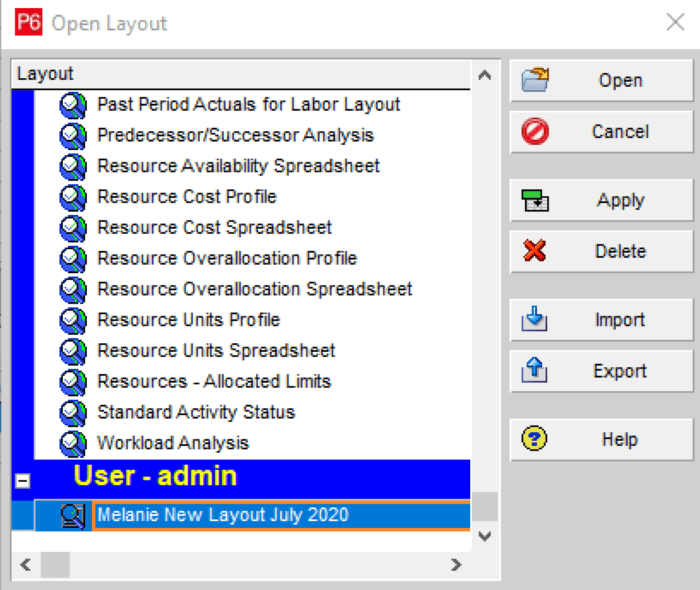
Select the desired Primavera layout:
The selected Primavera layout will display:

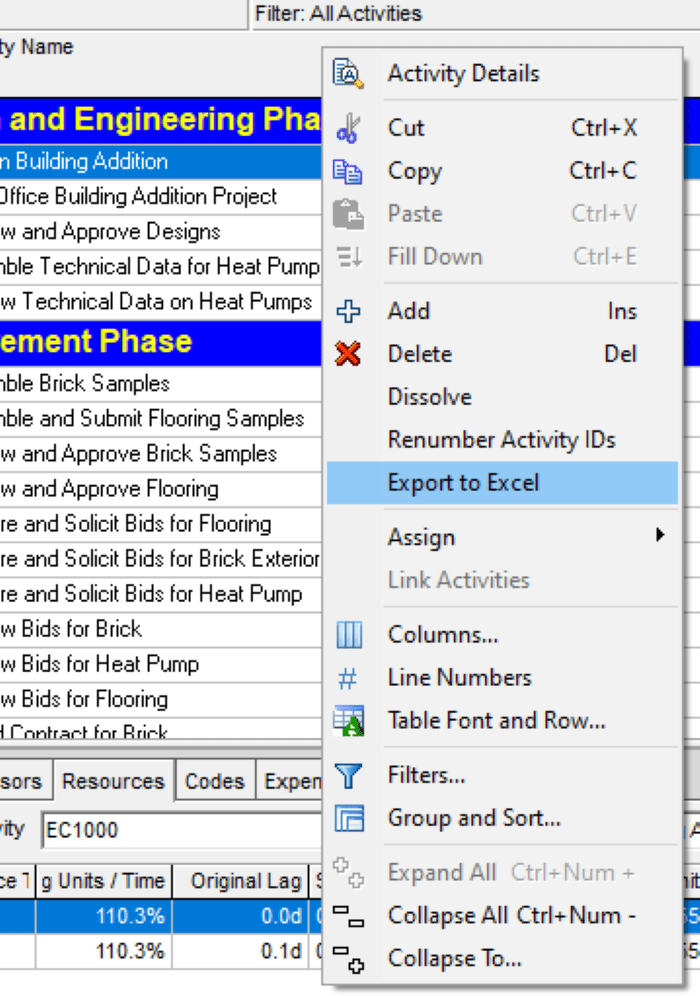
Right-click in the activity bar to select “Export to Excel”:
You will be prompted to save the file to your chosen location, and then you will receive a confirmation of the success of the export:

The exported Excel file can now be edited. The asterisks that show up in some of the top fields of the Excel file indicate that these particular fields cannot be imported back into Primavera:
![]()
Exporting the Primavera schedule to an Excel spreadsheet template
There are instances where a planner/scheduler may want to create an Excel spreadsheet template as a general guide to make future modifications and updates to the project schedule. The best way to accomplish this is to first ensure that the project with the desired layout is open in Primavera.
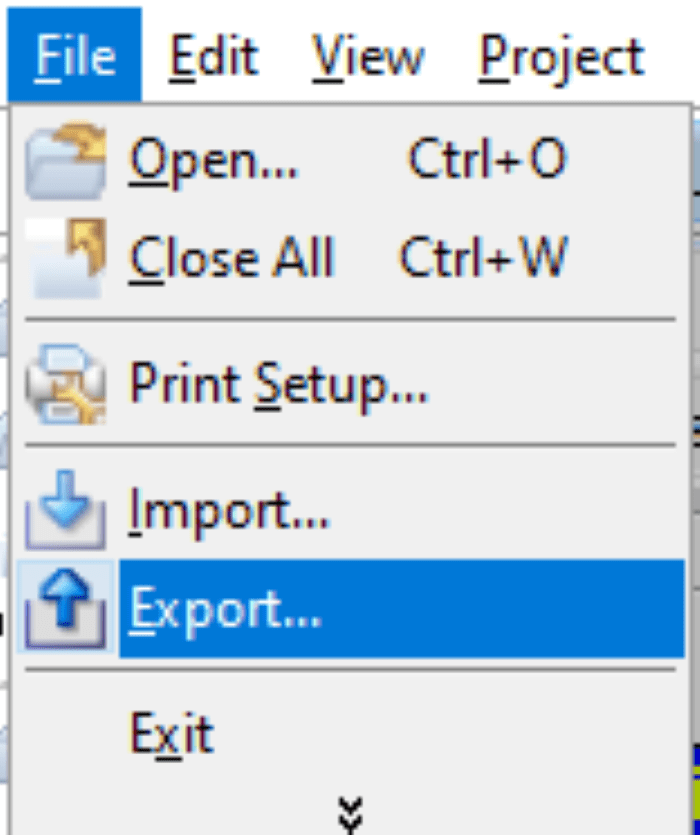
From the File tab, select “Export”:
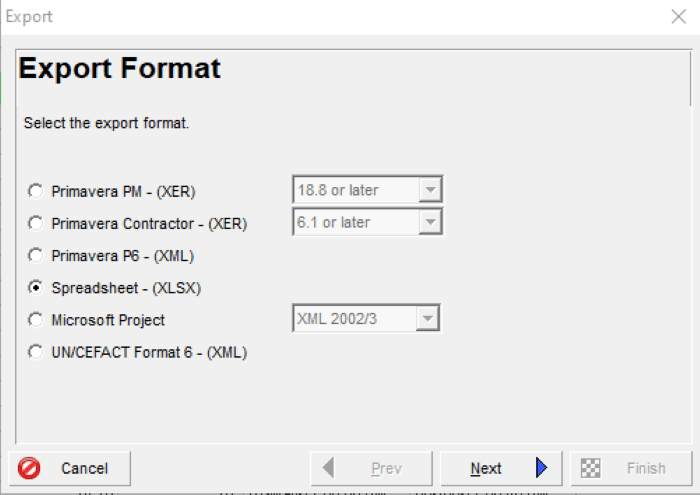
Select “Spreadsheet – (XLS)” in the Export Format box and click “Next”:
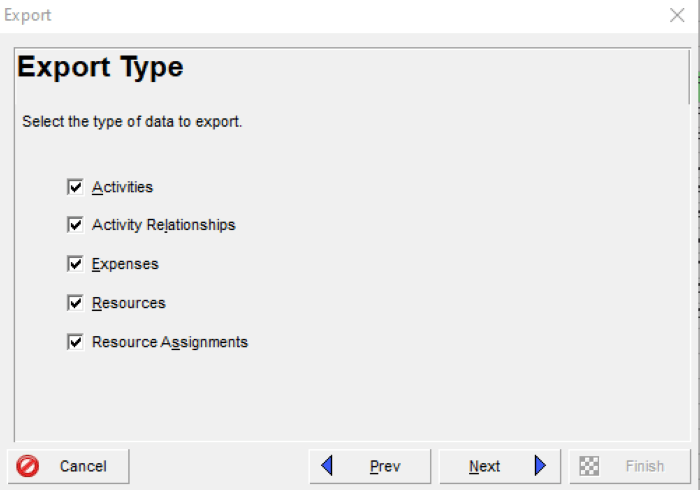
Select the data that you wish to export and click “Next”:
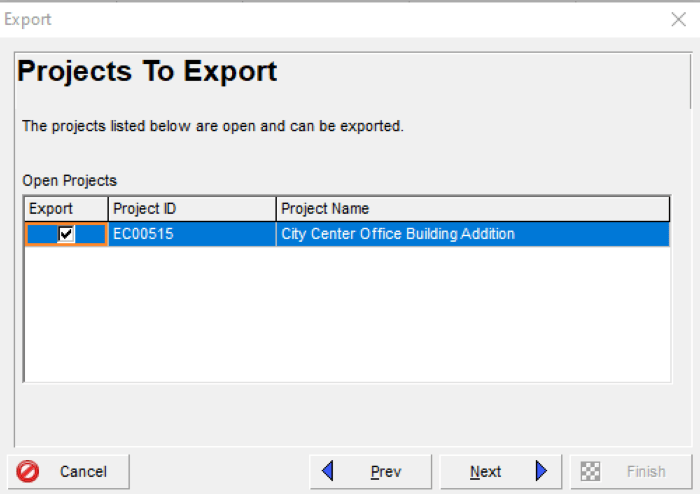
Put a checkmark in the box next to the project that you will export and click “Next”:
You will see the “Select Template” screen, and you can choose “Modify” to update the options:
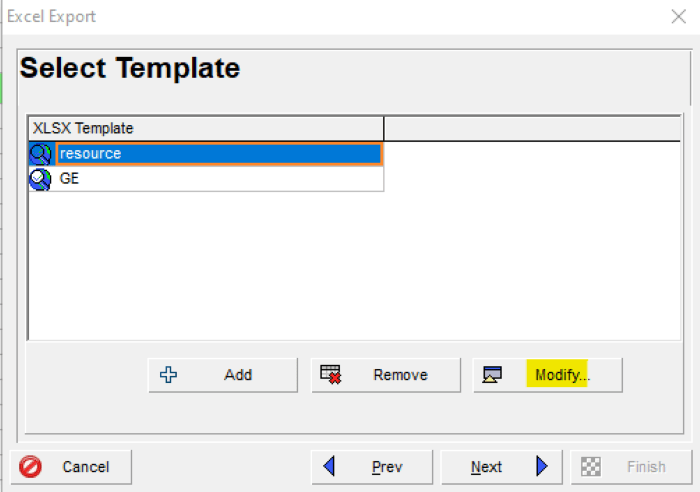
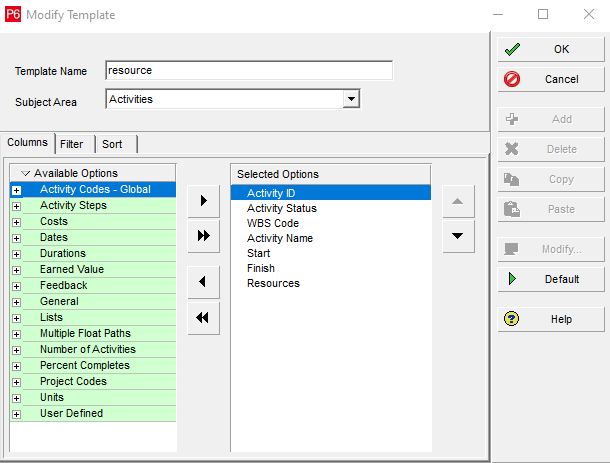
The next screen allows you to customize the options:
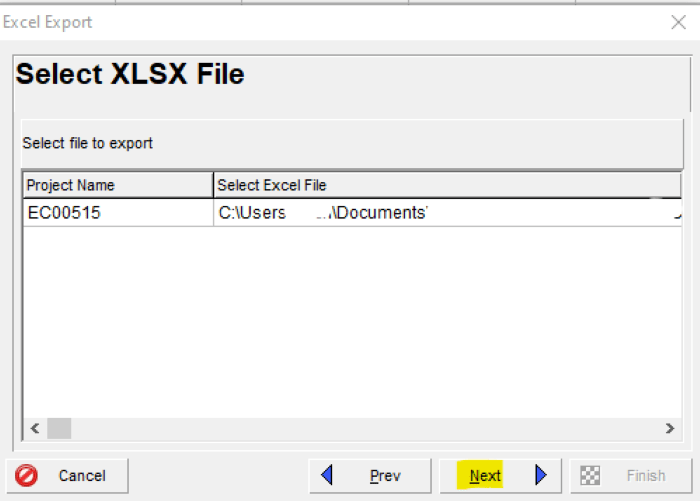
Select the location to generate and save your Excel template file and click “Next”:
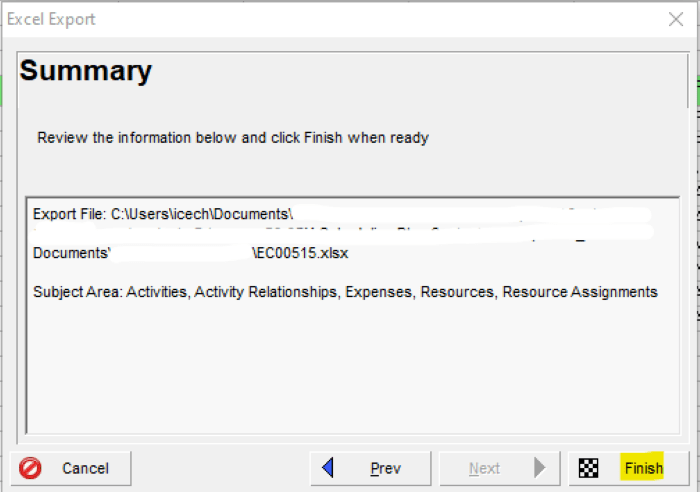
You will receive a summary box and see the path to the file. Select “Finish”:
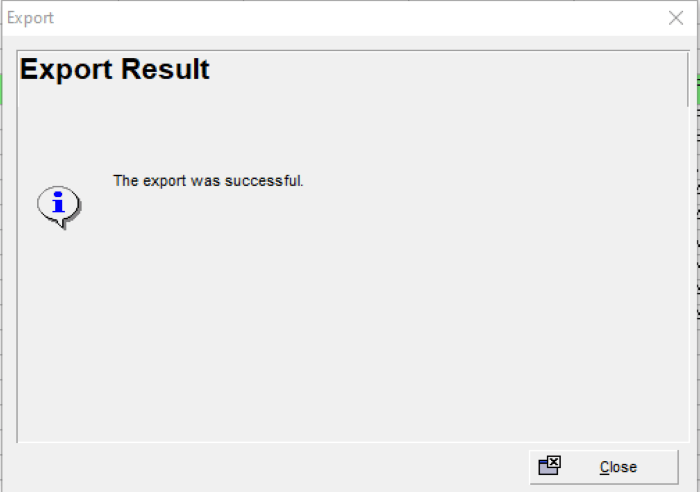
You will receive confirmation of the successful export:
Here is an example of the Excel file template exported from Primavera. Although the asterisks in some of the top fields indicate that the data cannot be modified and imported to Primavera, those same fields can be modified in the individual tabs shown in the Excel template below.
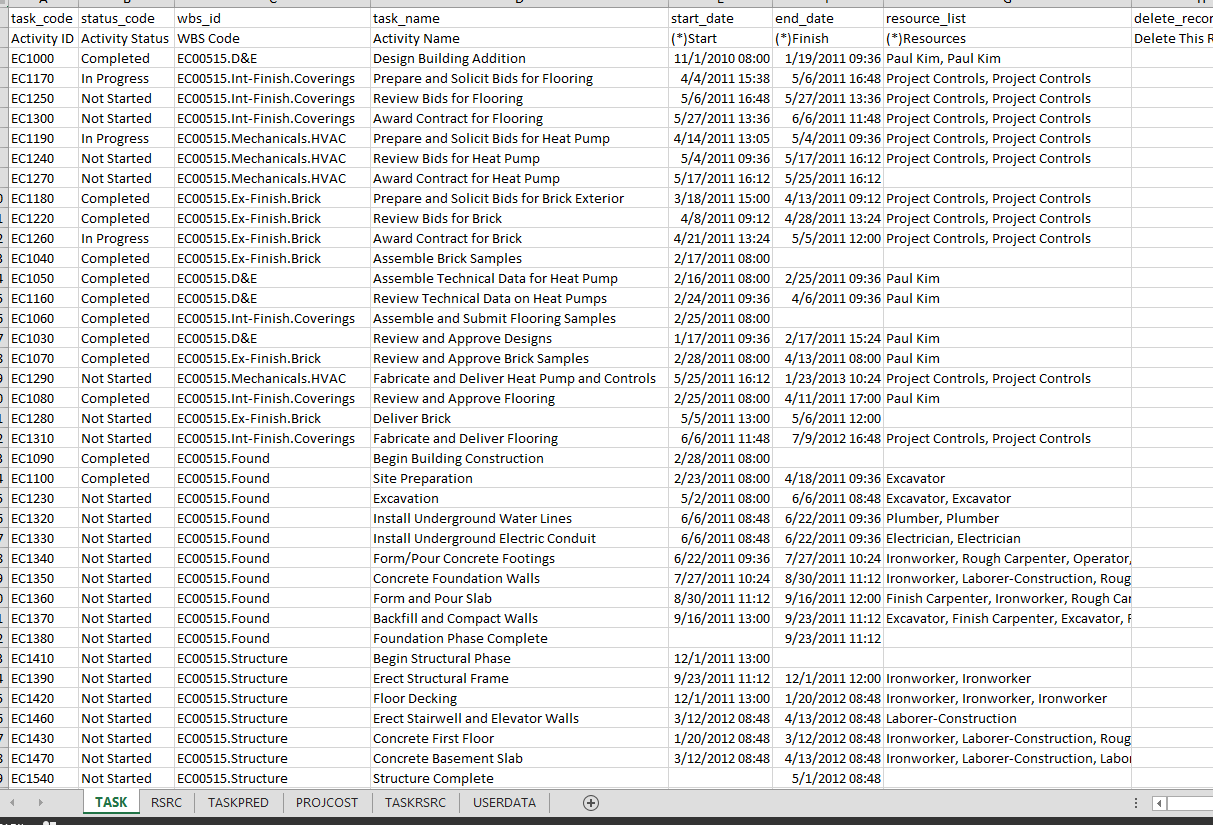
For a sample exercise, one of the task names was changed from “Review Bids for Flooring” to “REVIEW BIDS FOR FLOORING” in the main “Task” tab of the Excel template file. The ID EC1250 from the “RSRC” tab in the Excel template file was changed from “Project Controls” to “Elec”. Remember that this is one of the fields that contain an asterisk; however, we can add data to this field by using the Excel tab designated for the resources.


Save the file.
Importing changes in the Excel spreadsheet template file and importing to Primavera
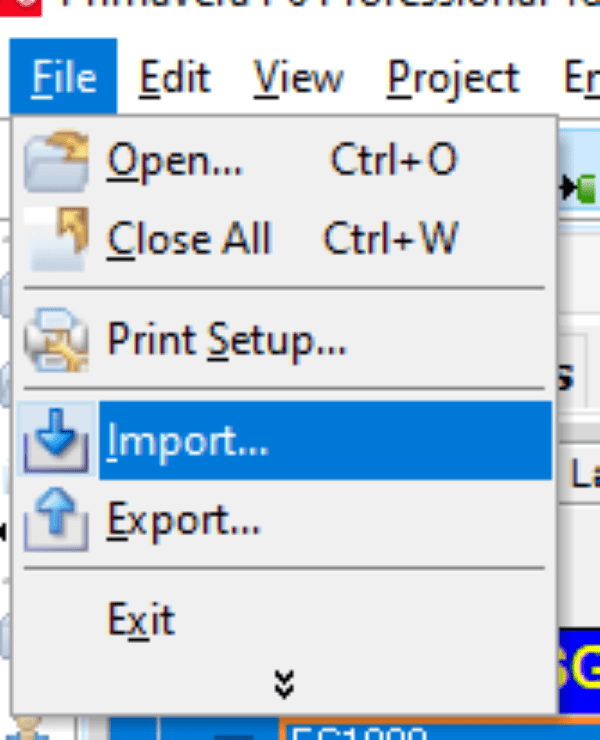
Select the File tab and “Import”:
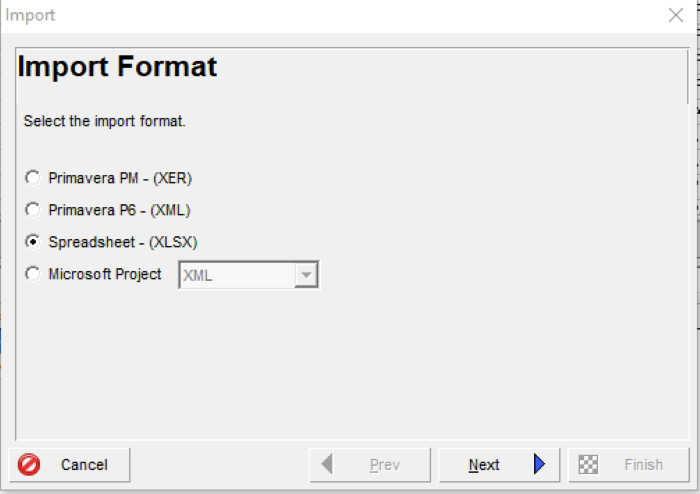
Select “Spreadsheet – (XLSX)”:
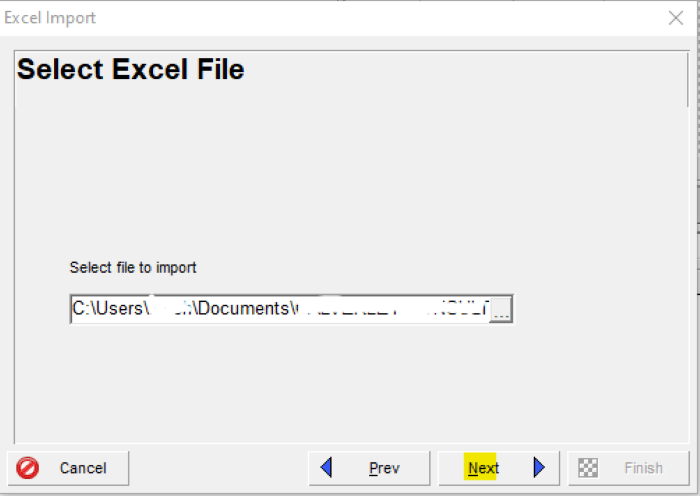
Find and select the Excel spreadsheet template file that you will import to Primavera and select “Next”:
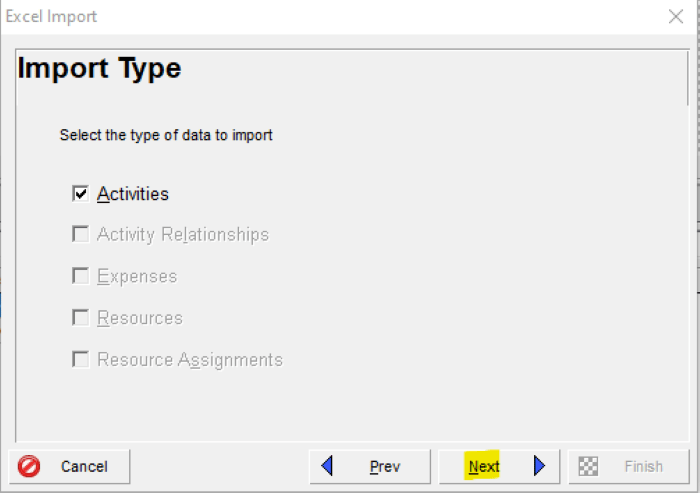
Choose the data that you want to import to Primavera:
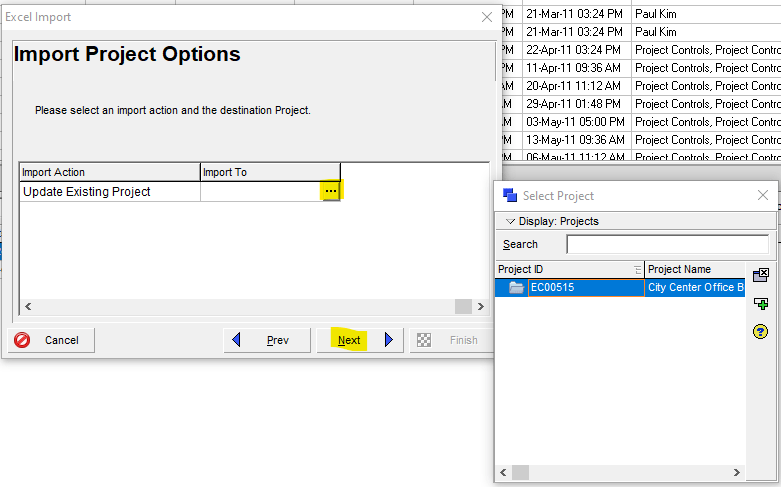
You will see an “Import Project Options” screen. Select your project that you are making the updates to:
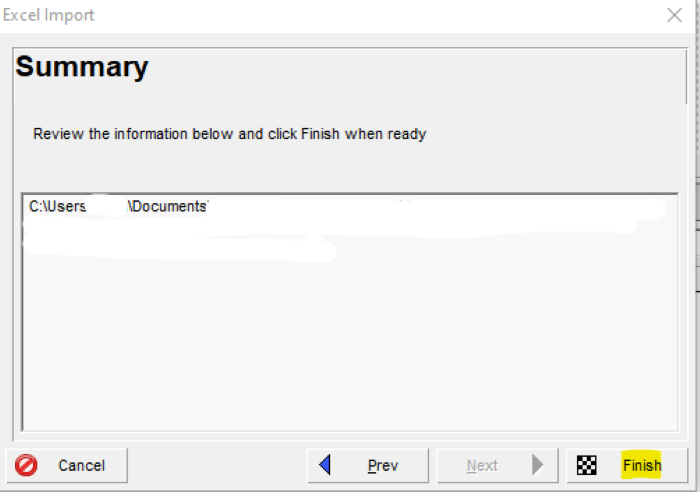
The Summary box shows the location of the Excel spreadsheet template:
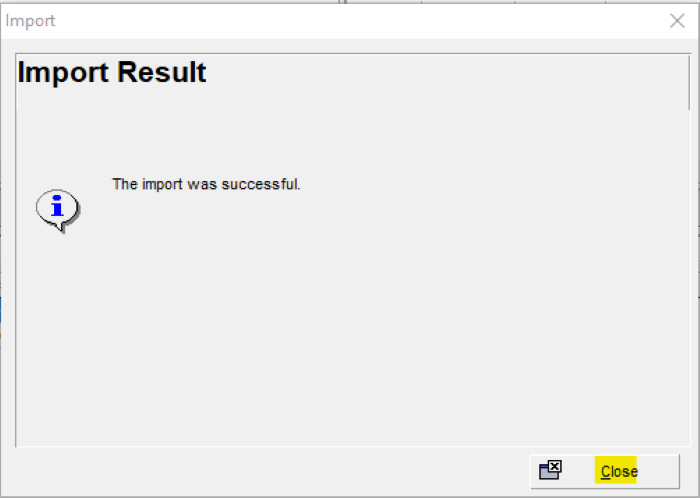
You will receive confirmation of a successful import to Primavera:
An example of the Primavera schedule shows the modification to the title of one of the tasks and the addition of the electrical resource to the task:

Adding new tasks to the existing Primavera schedule via an Excel spreadsheet import
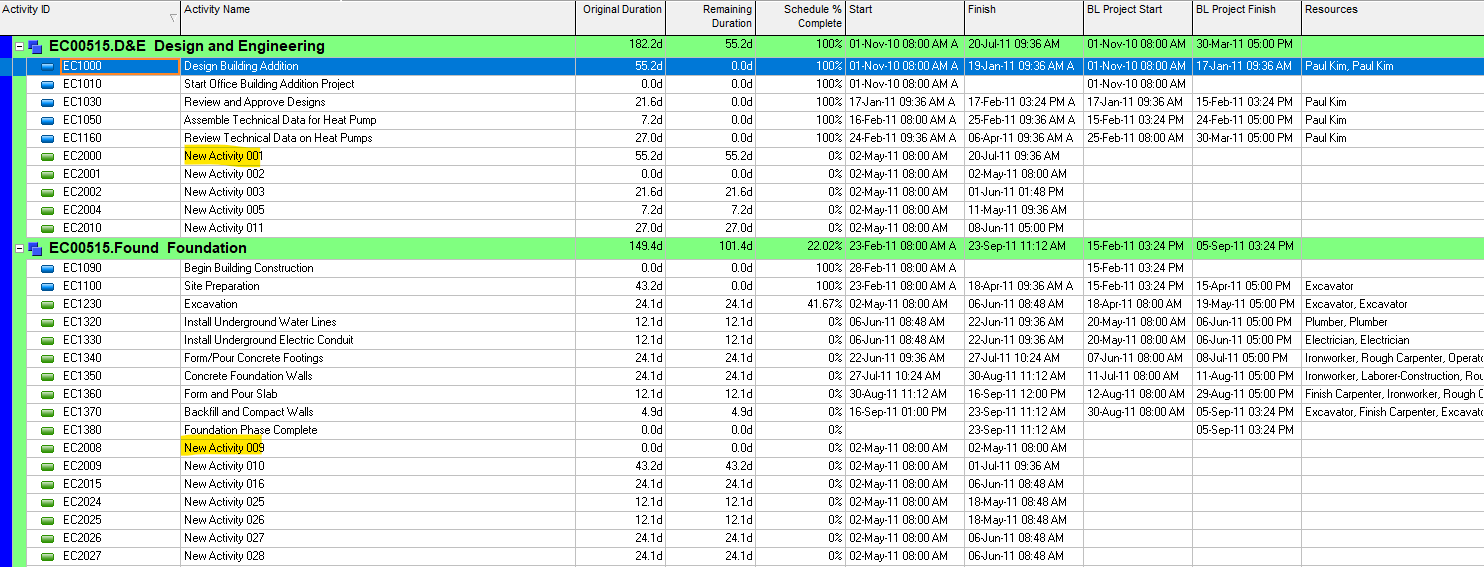
Start with an Excel spreadsheet schedule, using the same format as the exported schedule that we created earlier. Not all fields will transfer over. In this screenshot, the “New Activity” tasks are the ones that we are adding to the Primavera schedule. Contact us for a CPM Scheduling consultant.

From the File tab, select “Import”:
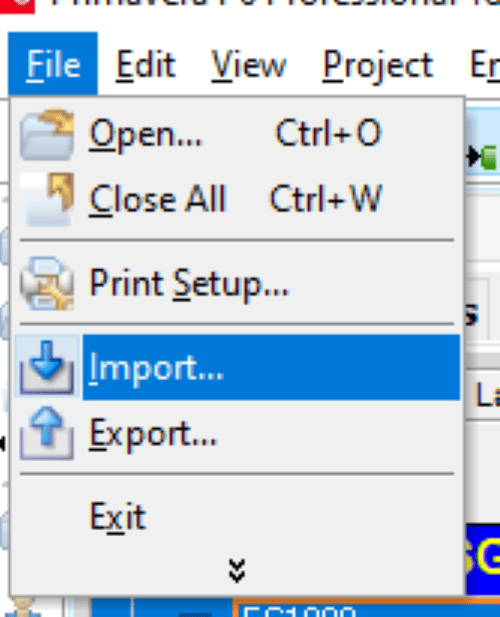
Select “Spreadsheet – (XLSX)”:
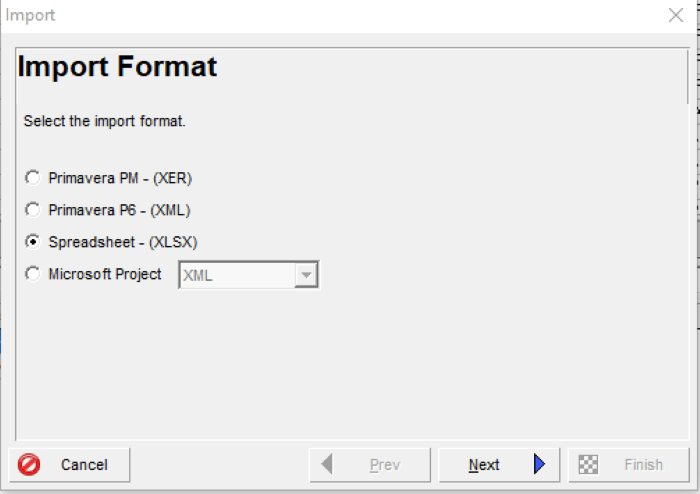
Find and select the Excel file to import and click “Next”:

The import screen for the activities is shown:

Select the existing project to import to:

Then Summary box shows the location of the file:

Confirmation of a successful import will appear:

You can now see the imported activities in Primavera from the Excel spreadsheet:
