HOW TO EXPORT PRIMAVERA P6 PROJECT DATA TO EXCEL (.XLS)
Primavera P6 is widely used as a project management tool in the manufacturing, engineering, and construction industries. Also, it offers features for scheduling, monitoring, and resource management. Although the default file format for storing project data is P6 (.XER), we sometimes need to use Microsoft Excel (.XLS) for analysis or sharing with stakeholders. This article explains how Primavera data is exported to Excel for reporting and analysis.
Step 1:
Opening the Project in Primavera P6
To start, open the project in Primavera P6, which includes activities, resources, relationships, and expenses.

Step 2:
Customizing the Layout (Optional)
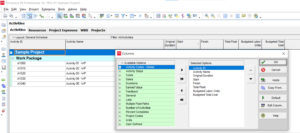
If needed, you can customize the data layout before exporting it from Primavera P6. This step allows you to focus on the details required for your Excel file. Follow these steps to modify the configuration;
- Select the tab based on whether you want to export Activities, Resources, or Expenses.

- From Columns, you can add, remove, or modify columns.

- Rearrange columns by dragging and dropping them into your desired order.
Learn to import budgeted costs into Primavera P6 from Excel with our guide.
Step 3:
Converting from XER to XLS Format
When working with Microsoft Excel, you often use formats like XLS or XLSX. However, if you’re using Primavera P6, it uses the XER format. But don’t worry; there are ways to convert the file. Here’s a traditional method you can follow;
Primavera P6 itself offers an option to export data to Excel directly. Follow these steps:
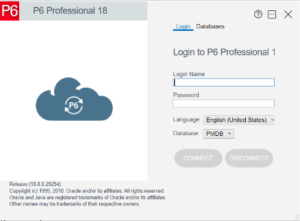
- Open Primavera P6.
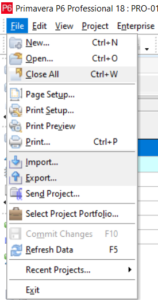
- Go to the File menu. Choose Export.
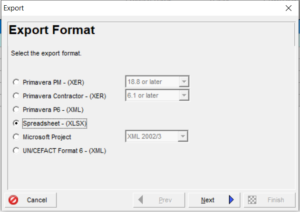
- Select Spreadsheet (XLSX), as the export format.
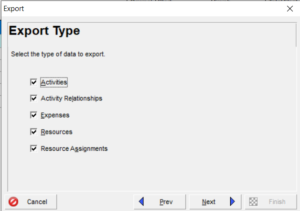
- Select the type of data to export.
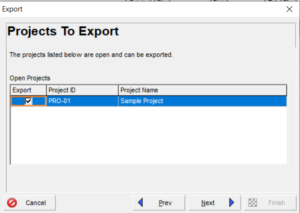
- Select the projects that are open and can be exported.
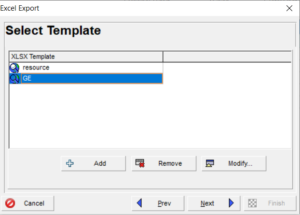
- Select Template
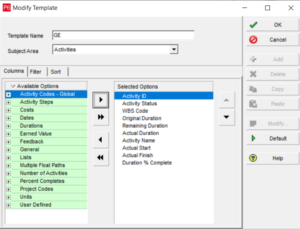
- If needed, select a template then modify it if required.
- Select the XLSX file to export where to save.
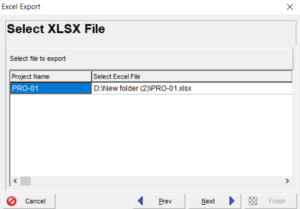
- Click on the Finish button to start the export process.
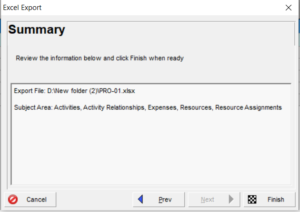
Once you’ve exported your project data to Excel, you may want to check out our tutorial on Updating All Activity IDs in Primavera P6 with Excel for a seamless data management experience.
Step 4:
Reviewing and Editing Excel Data
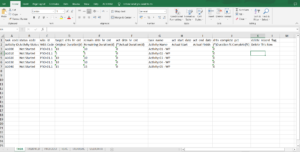
Please take a look at it. Make any edits to the Excel data. Open the saved Excel file in your chosen destination folder. Feel free to adjust the layout, apply filters and format it as needed to enhance its presentation.
Contact Leopard Project Controls for your next CPM Scheduling Project.
Conclusion:
To wrap things up, you can export Primavera P6 data into Excel before you share the data with stakeholders. This article primarily discusses how to convert XER files into XLS format. This approach can help create reports or utilize project management data. Remember that updating both files is crucial to maintain accuracy.
If you found this post helpful, you’ll love our in-depth guide on importing and exporting with Excel and Primavera. Dive in now to expand your knowledge!


